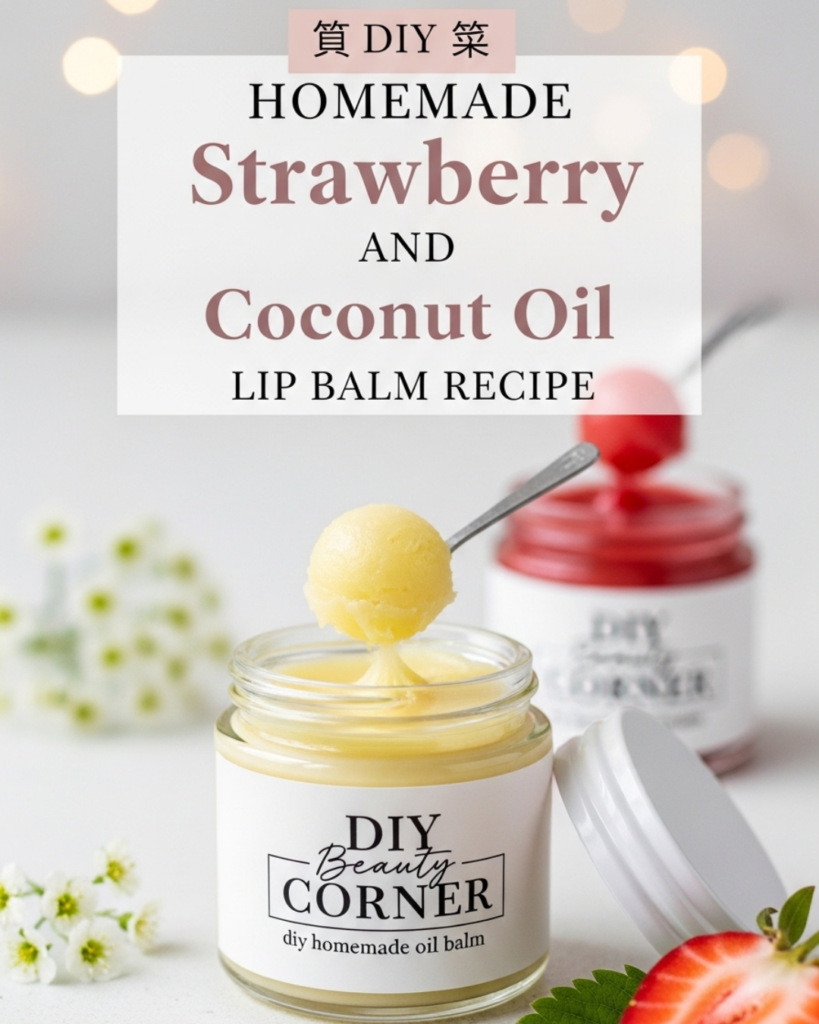
Learn this easy step by step strawberry and coconut oil lip balm recipe for smooth, moisturized lips. Discover how to create natural beauty products at home today!
Have you ever looked at the back of a store-bought lip balm and felt like you needed a chemistry degree just to read the ingredients? It is a common frustration for anyone trying to live a cleaner, more natural lifestyle. Your lips are incredibly sensitive, and they deserve better than synthetic waxes and artificial fragrances. That is why I am so excited to share this easy step by step strawberry and coconut oil lip balm recipe for smooth, moisturized lips.
By the end of this guide, you will unlock the secret to crafting a professional-quality beauty product in your own kitchen. Not only will you save money, but you will also gain the satisfaction of knowing exactly what is going onto your skin. This recipe uses simple, wholesome ingredients that work in harmony with your body to provide long-lasting hydration and a delicious, fruity scent. Let’s dive in and transform your self-care routine with this fun and rewarding DIY project!
Foundation: Understanding Your Natural Ingredients
Before we roll up our sleeves, let’s build some confidence by looking at why this specific combination of ingredients is so powerful. Making your own beauty products can feel intimidating if you’ve never done it before, but it is actually quite simple once you understand the “why” behind the “how.”
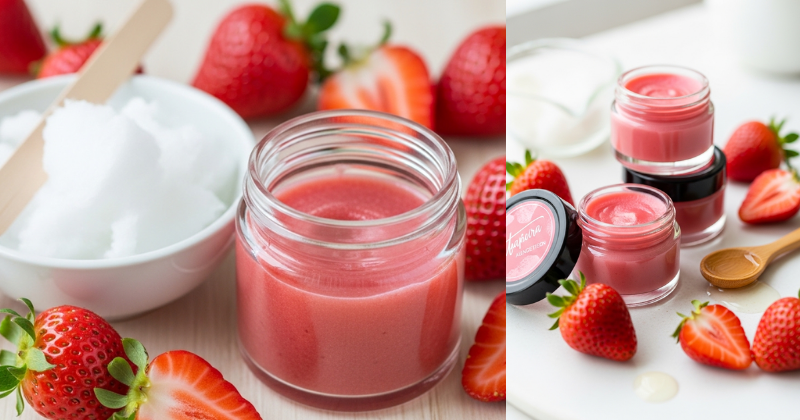
The star of the show is coconut oil, which is world-renowned for its moisturizing properties. It acts as a natural emollient, trapping moisture in the skin. When paired with beeswax (or a plant-based alternative), it creates a protective barrier that shields your lips from harsh winds and dry air. The addition of strawberry provides a natural, uplifting scent and a hint of antioxidants that help keep your skin looking youthful.
H3: The Core Components
- Coconut Oil: Provides deep hydration and a smooth glide.
- Beeswax Pellets: Gives the balm its structure and provides a protective seal.
- Strawberry Extract or Powder: Adds the signature scent and optional natural tint.
- Shea Butter (Optional): Adds an extra layer of creaminess for very dry lips.
H3: Safety and Tool Requirements
You won’t need any high-tech equipment to succeed. Most of these items are likely already in your cabinets. To ensure a safe and clean process, gather a small glass measuring cup, a spoon for stirring, and a double boiler (or a small pot with an inch of water). Always use heat-resistant glass to avoid cracking, and keep a few paper towels handy for quick clean-ups.
Step-by-Step Process: Crafting Your Lip Balm
Breaking this down into manageable steps makes the process feel achievable and fun. Timing is key here; the entire process usually takes less than 30 minutes from start to finish!
Step 1: Set Up Your Heat Source
Create a simple double boiler by placing your glass measuring cup inside a pot filled with a small amount of water. Turn the heat to medium-low. You want the water to simmer gently, not boil aggressively.
Step 2: Melt the Base
Add 2 tablespoons of coconut oil and 1 tablespoon of beeswax pellets to the glass cup. Stir occasionally with a small spoon. You will see the beeswax slowly dissolve into the oil, creating a clear, golden liquid. This is the foundation of your easy step by step strawberry and coconut oil lip balm recipe for smooth, moisturized lips.
Step 3: Add the Strawberry Magic
Once the mixture is completely liquid, remove it from the heat. Now is the time to add your strawberry component. If you are using strawberry seed oil or a natural extract, 5-10 drops are usually sufficient. If you want a slight tint, you can whisk in a tiny pinch of organic beet root powder or freeze-dried strawberry powder.
Step 4: Pour and Set
Carefully pour the liquid into small lip balm tins or tubes. Work quickly, as the mixture will begin to harden as it cools. Leave the containers undisturbed for at least two hours (or 30 minutes in the fridge) to ensure they set perfectly.
Advanced Strategies: Pro Tips and Customization
Now that you have mastered the basic method, let’s explore ways to customize your approach. This is where you can truly make the recipe your own and even create personalized gifts for friends and family.
Customizing Texture and Scent
How do you make lip balm harder or softer? If you prefer a firmer balm that holds up well in a pocket, add a tiny bit more beeswax. If you love a glossy, soft finish, increase the coconut oil slightly. You can also experiment by adding other “everyday items that act as natural antibiotics” like a drop of Vitamin E oil, which acts as a natural preservative and skin healer.
H3: Expert Variations
- The Shimmer Version: Add a tiny bit of cosmetic-grade mica powder for a subtle sparkle.
- The Healing Blend: Swap half the coconut oil for calendula-infused oil to soothe severely chapped lips.
- The Tropical Twist: Add a drop of lime essential oil alongside the strawberry for a “Strawberry Daiquiri” vibe.
Troubleshooting: Common Challenges and Solutions
Setbacks happen to everyone, but they are just opportunities to learn. If your first batch isn’t perfect, don’t worry—most issues are very easy to fix.
- Problem: My balm is too grainy. This often happens if the shea butter or beeswax was heated too quickly or unevenly. Solution: Re-melt the mixture very slowly over low heat and stir continuously until it is perfectly smooth.
- Problem: The strawberry powder settled at the bottom. Natural powders can be heavy. Solution: Let the mixture cool slightly until it begins to thicken just a little before pouring. Stir it right before you pour to keep the particles suspended.
- Problem: It feels too greasy. Solution: You likely need a bit more beeswax to balance the oils. Re-melt and add a half-teaspoon of pellets.
Preventive Measures
To ensure your balm stays fresh for months, always use a clean, dry spoon for stirring. Moisture is the enemy of natural products, as it can encourage mold growth. If you keep your balm in a cool, dry place, it should last for up to 6 to 12 months!
Maximizing Results: Next Level Lip Care
To build upon your success with this DIY project, consider how it fits into your broader wellness and beauty routine. Achieving smooth lips is about more than just what you put on them; it’s also about maintenance.
Complementary Strategies
For the best results, use a simple sugar scrub before applying your new balm. Mix a teaspoon of sugar with a bit of coconut oil and gently massage it onto your lips to remove dead skin cells. This allows the nutrients in your strawberry balm to penetrate deeper. You can also look into other DIY projects, such as a powerful hair oil for strong long healthy hair, to create a full “spa day” experience at home.
Sustainable Beauty
By making your own products, you are significantly reducing plastic waste. Consider buying your ingredients in bulk and reusing your lip balm tins. This not only saves money but also aligns your beauty routine with a more eco-conscious lifestyle.
Conclusion: Empower Your Beauty Routine
Congratulations! You have successfully mastered the easy step by step strawberry and coconut oil lip balm recipe for smooth, moisturized lips. You have taken a simple set of ingredients and transformed them into a high-performance beauty staple.
This journey into DIY skincare is an empowering way to take control of what goes on your body. Remember, you have the capability to create effective, natural solutions that rival anything found in a store. Keep experimenting, stay curious, and enjoy the glow of your healthy, moisturized lips!