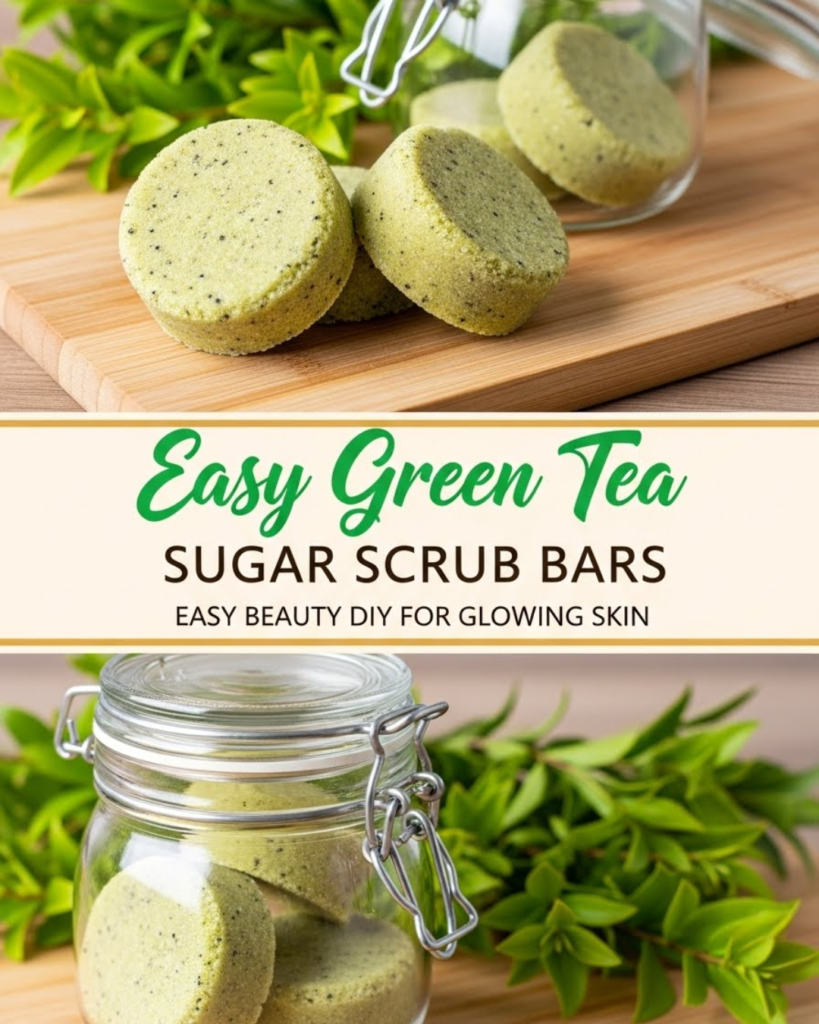
Make this easy green tea sugar scrub bars DIY recipe to exfoliate and nourish your skin. Discover how to create spa-quality body scrubs at home with simple ingredients.
Have you ever walked through a high-end beauty boutique and marveled at the beautifully packaged, expensive exfoliating bars, only to wish you could enjoy that luxury without the premium price tag? We have all been there. It often feels like glowing, soft skin is a luxury reserved for those with a spa membership. But here is a secret that will transform your self-care routine: you can create professional-grade skincare right in your own kitchen! By following this easy green tea sugar scrub bars DIY recipe, you will unlock a world of natural exfoliation and antioxidant-rich nourishment.
This guide is designed to empower you to take control of what goes on your skin. Instead of synthetic fragrances and plastic microbeads, you will use the healing power of green tea and the gentle abrasion of natural sugar. These bars are convenient, mess-free, and incredibly effective at revealing a radiant complexion. You are about to discover how simple it is to achieve a spa-like glow while saving money and embracing a more sustainable lifestyle. You have the capability to revitalize your skin and your spirit with this delightful project!
Foundation: Why Green Tea and Sugar Bars?
Before we start mixing, let’s build your confidence with the basic concepts of natural skincare. Understanding the “why” behind the ingredients will help you appreciate the transformation your skin is about to undergo.
The Antioxidant Power of Green Tea
Green tea is a powerhouse for skin health. It is packed with polyphenols and EGCG (epigallocatechin-gallate), which are antioxidants that help protect the skin from environmental stressors. When you use an easy green tea sugar scrub bars DIY recipe, you aren’t just scrubbing; you are infusing your skin with ingredients that help soothe irritation and promote a youthful appearance.
Why Choose Scrub Bars Over Loose Scrubs?
Traditional sugar scrubs in jars are wonderful, but they can be messy. Water often gets into the jar, which can lead to bacteria growth, and the oil can make your shower floor dangerously slippery.
- Portability: Bars are easy to travel with.
- Controlled Exfoliation: The solid form allows you to target rough patches like elbows and knees more effectively.
- Longevity: Because they are solid, they tend to last longer than loose scrubs.
Reassurance for Beginners
If you have never made your own beauty products, don’t worry! This process is very similar to making a simple batch of cookies, but without the baking. It is a forgiving recipe that allows you to achieve amazing results on your very first try. You’re not just making a product; you’re crafting a healthier lifestyle.
Step-by-Step: Crafting Your Green Tea Scrub Bars
Ready to get your hands dirty—or rather, clean? Follow these manageable steps to create a perfect batch of exfoliating bars.
Ingredients and Supplies
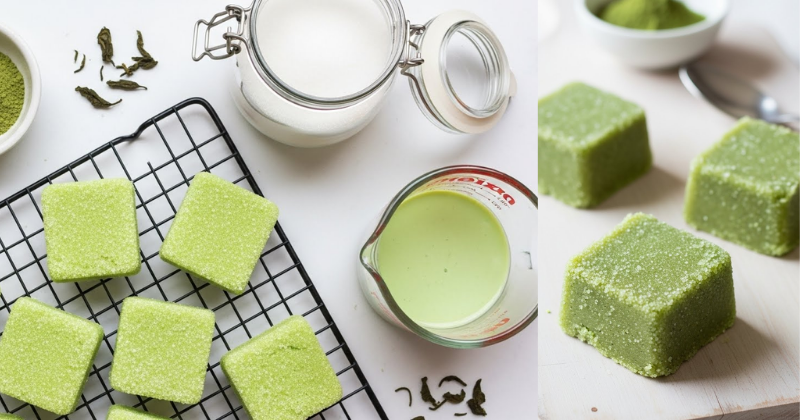
- 1 cup White Granulated Sugar: The perfect natural exfoliant.
- 1/2 cup Melt-and-Pour Soap Base: This acts as the binder (Goat’s milk or Shea butter bases are excellent).
- 1/4 cup Coconut Oil: For deep hydration and a smooth glide.
- 2 tablespoons Matcha Green Tea Powder: For that vibrant color and antioxidant boost.
- 10-15 drops Lemongrass or Eucalyptus Essential Oil: For an invigorating, spa-like scent.
- Silicone Mold: Small square or round shapes work best.
The Core Method
- Prep the Base: Cut the melt-and-pour soap base into small, even cubes. Place them in a microwave-safe glass bowl.
- Melt Gently: Heat the soap in 30-second intervals, stirring in between, until completely liquid.
- Combine the Oils: Stir in the coconut oil until it melts into the warm soap.
- Add the Green Tea: Whisk in the matcha powder. Ensure there are no clumps so your bars have a beautiful, uniform green hue.
- The Final Mix: Once the mixture has cooled slightly (but is still liquid), add your essential oils.
- Incorporate the Sugar: Quickly fold in the sugar. You want the mixture to look like thick, green slush.
- Mold It: Pour the mixture into your silicone molds. Press down firmly with the back of a spoon to ensure there are no air bubbles.
- Set and Harden: Let the bars sit at room temperature for at least 2 hours (or 30 minutes in the fridge) before popping them out.
Timing and Planning
The active preparation takes about 15 minutes. It is a quick and satisfying project that yields about 4 to 6 bars, depending on the size of your mold.
Advanced Strategies: Pro Tips for Customization
Once you have mastered the easy green tea sugar scrub bars DIY recipe, you can share expert-level insights by tailoring the bars to your specific skin needs.
Customizing Texture and Scent
If you have very sensitive skin, you can swap half of the white sugar for brown sugar, which is softer and more gentle. For an even more “herbal” feel, you can open a green tea bag and mix the dried leaves into the batter for extra visual texture.
Temperature Control
To ensure your sugar doesn’t melt into the soap, wait until the melted soap base is warm to the touch—not steaming—before adding the sugar. This keeps the “grit” intact, which is essential for effective exfoliation.
Featured Snippet: How do you use a sugar scrub bar in the shower?
To use a sugar scrub bar, simply wet your skin with warm water to soften the surface. Take the bar and rub it in gentle, circular motions over your body, focusing on rough areas like heels and elbows. The soap base will create a light lather while the sugar exfoliates. Rinse thoroughly and pat your skin dry to leave the nourishing coconut oil on your skin for maximum hydration.
Troubleshooting: Common Challenges and Solutions
Even with a simple recipe, you might encounter a few hurdles. Here is how to handle them with encouragement and ease:
- “My bars are too soft”: This usually means too much coconut oil was added. You can melt them down and add a bit more soap base to firm them up.
- “The sugar settled at the bottom”: This happens if the soap was too hot when you poured it. Next time, wait until the mixture starts to thicken slightly before pouring into the mold.
- “The bars don’t foam enough”: If you prefer more bubbles, ensure you are using a high-quality “clear” glycerin soap base, which typically lathers better than opaque milk bases.
Preventive Measures
Always store your finished bars in a cool, dry place. If they stay in the shower between uses, keep them on a draining soap dish so they don’t sit in water and dissolve prematurely.
Maximizing Results: A Holistic Approach to Soft Skin
Now that you have your beautiful scrub bars, you can build upon your success by integrating them into a total home wellness routine.
Complementary DIY Projects
- Internal Link Opportunity: After exfoliating, nourish your face with a DIY face cream with rosehip oil for a complete glow.
- Internal Link Opportunity: If you find the matcha scent relaxing, you might also enjoy learning to make cozy candles at home.
- Internal Link Opportunity: Keep your bathroom sanctuary clean and healthy by discovering why mold keeps coming back in bathrooms.
- Internal Link Opportunity: If you have leftover green tea powder, it works wonders in a natural sinus chest rub recipe for its soothing aroma.
- Internal Link Opportunity: Learn how to clean walls fast to make sure your bathroom environment is as pristine as your skin.
Long-Term Benefits
By consistently exfoliating once or twice a week, you help your skin shed dead cells more efficiently. This allows your moisturizers to sink in deeper and work more effectively. You are achieving a level of skin health that is sustainable, natural, and entirely within your control.
Conclusion: Reveal Your Best Skin
You have now discovered the ultimate easy green tea sugar scrub bars DIY recipe. You have moved from being a spectator of the beauty industry to an active creator of your own wellness. By following these steps, you have achieved a professional-grade exfoliant that is as good for the planet as it is for your skin.
The transformation of your self-care routine is an empowering journey. We encourage you to try this recipe today and feel the immediate satisfaction of silky-smooth skin. You are more than capable of achieving a radiant, healthy glow with these simple, natural tools!