
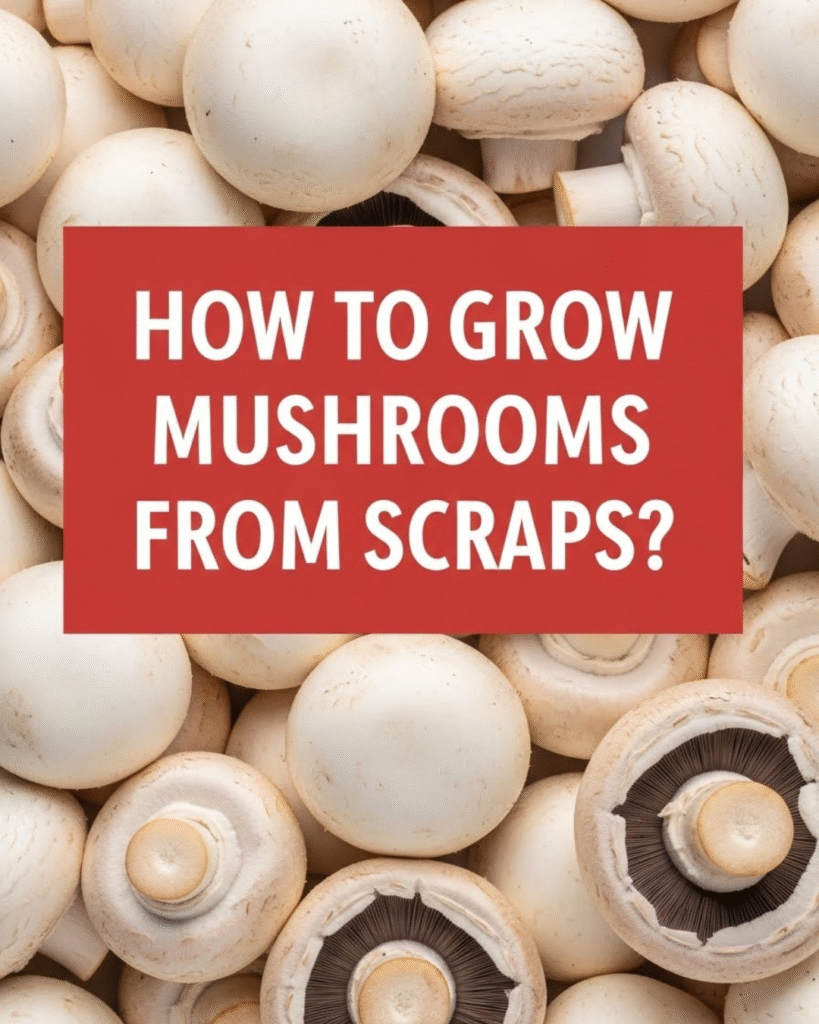
Are you tired of tossing those mushroom stems after cooking, or looking for a truly sustainable lifestyle change that boosts your kitchen output? It might sound like magic, but you can actually learn HOW TO GROW MUSHROOMS FROM SCRAPS right in your own kitchen or garden. This process is a fascinating blend of Gardening Topics and Home Tips & DIY, emphasizing cost-saving benefits and a deeper connection with nature. This guide will help you discover the simple, achievable steps to turning kitchen waste into fresh, delicious fungi, empowering you to transform your approach to food and gardening.
🍄 Section 1: Foundation First: Understanding Mycelium and Scraps
To understand HOW TO GROW MUSHROOMS FROM SCRAPS, we must first build confidence with basic concepts about the true nature of fungi and the necessary materials.
H3: Building Confidence with Basic Concepts: Mycelium, Not Spores
Mushrooms are the fruit of a vast underground network called mycelium. When you use mushroom scraps, you aren’t planting seeds (spores); you are propagating this existing, living network.
- What Scraps Work? The best candidates are store-bought mushrooms that still have a small piece of the stem base attached—this is where the robust mycelium network is most concentrated. Oyster Mushrooms and Button/Cremini/Portobello Mushrooms are the easiest and most successful for beginners.
- What Scraps Don’t Work? Avoid using caps or stems that are highly processed, dried, or starting to decay heavily (moldy or slimy). We need clean, healthy tissue.
H3: Key Components: Substrate and Spawn
For beginners learning HOW TO GROW MUSHROOMS FROM SCRAPS, the goal is to successfully transfer the living mycelium (the spawn) from the scrap onto a new food source (the substrate).
- The Spawn: This is your mushroom scrap, usually the bottom inch of the stem.
- The Substrate: This is the food source where the mycelium will grow. Unlike plants, fungi need cellulose and lignin. The best substrates for scraps are:
- Coffee Grounds: Spent, cooled, and fresh (within $24 \text{ hours}$ of brewing). Excellent, free, and readily available food.
- Cardboard: Unprinted, corrugated cardboard (removed of all tape).
- Encouraging Reassurance for Beginners: This process requires patience and cleanliness, but the satisfaction of completion when you see your first mushroom pop up is incredible!
☕ Section 2: Core Methods: The Coffee Ground Method
The coffee ground method is the most accessible and popular technique for beginners asking HOW TO GROW MUSHROOMS FROM SCRAPS. It utilizes a waste product (spent coffee grounds) as the primary food source.
Step-by-Step Process (Core Methods)
- Prepare the Spawn (Actionable Language): Take the bottom $1 \text{ inch}$ of your mushroom stems (Oyster or Button). You need about 4-5 healthy stems.
- Prepare the Substrate: Collect $2 \text{-} 3$ cups of spent coffee grounds. Safety considerations: The coffee grounds must be completely cooled to room temperature, but ideally used within $24 \text{ hours}$ of brewing. If they sit too long, they can develop mold which competes with the mycelium.
- Sterilize the Vessel: You will need a clean plastic container or a large, thick zip-top bag (like a freezer bag). Sterilize it by rinsing it with a solution of $1 \text{ part}$ bleach to $10 \text{ parts}$ water, then rinse thoroughly.
- Inoculation (Actionable Language): Mix the mushroom scraps (spawn) directly into the coffee grounds (substrate) inside the sterile container. Distribute the scraps evenly.
- Incubation (Timing and Planning Considerations): Seal the container but poke 3-4 small air holes (about the size of a pen tip) for gas exchange. Place the container in a dark, warm place (ideally $70^{\circ} \text{F}$ or $21^{\circ} \text{C}$) for $2 \text{-} 4 \text{ weeks}$. This is the colonization period where the mycelium will grow and bind the grounds together.
- Fruiting (The Big Reveal): Once the grounds are completely covered in white, fuzzy mycelium, move the container to a brighter spot (indirect light, like a kitchen counter). Cut a large “X” into the side of the bag/container. Mist the cut area 2-3 times daily with water to maintain high humidity.
- Harvest: Within $7 \text{-} 14$ days of initiating fruiting, you should see small mushroom “pins” forming. Harvest the mushrooms when the caps flatten out, before they curl upward.
🪵 Section 3: Advanced Strategies: Cultivating on Cardboard
For a different texture and a more robust growth method, you can use cardboard as the initial substrate for your Oyster Mushroom scraps. This method is an expert-level insight into low-tech propagation.
H3: Creative Solutions: Cardboard Mycelial Spawning
This approach allows you to expand the mycelium culture efficiently before moving it to a final food source.
- Pre-Soak Cardboard: Shred corrugated cardboard into $2 \text{-inch}$ strips. Soak it in boiling water for $30 \text{ minutes}$ to sanitize it and fully hydrate it. Squeeze out the excess water until it’s just damp.
- Layering: Place a layer of the damp cardboard strips into a clean plastic container. Place your mushroom scraps (the small stems) on top of the cardboard. Cover the scraps with another layer of damp cardboard.
- Colonization: Close the container, ensuring a tiny crack remains for air exchange. Store in a dark, warm place. The mycelium will quickly colonize the cardboard, looking like a white fuzz spreading across the material. This creative solution prepares a robust starter block.
H3: Ways to Customize Approach: Moving to a Final Substrate
Once the cardboard is fully colonized (usually $2 \text{ weeks}$), the mycelium block is ready to be transferred outdoors or into a larger indoor grow bag.
- Outdoor Woodchip Bed: For Oyster mushrooms, plant the colonized cardboard scraps in a shady spot in your garden, burying them slightly under a layer of wet wood chips or straw. This encourages a long-term connection with nature and can provide a recurring harvest, adapting to seasonal considerations.
- Indoor Straw Bag: Mix the colonized cardboard spawn with pasteurized straw inside a large plastic bag. Cut holes for fruiting and mist as described in Section 2.
🌡️ Section 4: Troubleshooting and Common Challenges
Dealing with contamination is the most frequent obstacle when learning HOW TO GROW MUSHROOMS FROM SCRAPS. Here are practical troubleshooting tips.
Featured Snippet Potential: “My homemade mushroom substrate is green or blue. What went wrong?”
If your homemade mushroom substrate (coffee grounds or cardboard) turns green or blue, it is contaminated with competing molds (most commonly Trichoderma, or “green mold”). This usually happens because the substrate was not sterile enough, was too old before inoculation, or was too wet during the colonization phase. The best solution: Immediately isolate the contaminated substrate, discard it (do not compost it near your clean spawn), and start a new batch using fresher substrate and stricter sterilization protocols.
Practical Troubleshooting Tips (Home Tips & DIY Focus)
- Problem: The mycelium is not growing after 3 weeks (no white fuzz).
- Obstacle: The substrate is too dry, too cold, or the mushroom scrap was dead.
- Solution: Encouragement for Setbacks: Gently mist the inside of the container with clean water. Ensure the temperature is consistently above $68^{\circ} \text{F}$. If nothing happens in another week, the initial scrap was likely inactive, and you need to try again with fresher scraps.
- Problem: The mushrooms are long and spindly with small caps.
- Obstacle: Insufficient fresh air exchange and/or not enough light during the fruiting phase.
- Solution: Preventive Measures: These mushrooms are still edible, but for the next flush, make the air holes larger, or open the container for $30 \text{ minutes}$ twice a day to introduce more oxygen. Ensure they are in a bright area (indirect light, not direct sun).
- Problem: My coffee grounds smell sour or rotten.
- Obstacle: The substrate is too wet, leading to anaerobic bacteria growth.
- Solution: Alternative Approaches: The coffee grounds should be moist, like a wrung-out sponge, not soaking wet. If this happens, you must discard the batch. For your next attempt, squeeze the coffee grounds much harder after cooling them down.
📈 Section 5: Maximizing Results: Next Level Frugal Fungi
Once you achieve a successful harvest from your initial scraps, you can expand your operation using maintenance and long-term considerations strategies.
- Show How to Build Upon Basic Success (Spawn to Spawn): Instead of always using store-bought scraps, you can use the mycelium from a colonized coffee ground batch to inoculate a new batch. Cut a small chunk of the white, fuzzy mycelium ($1 \text{ cubic inch}$) and use it as spawn for a new container of fresh coffee grounds. This is a perpetual, sustainable lifestyle change loop.
- Maintenance and Long-Term Considerations: Most kitchen-scrap setups will give you 2-3 successful “flushes” (harvests) of mushrooms before the substrate is exhausted. After the final harvest, the spent substrate is a fantastic, nitrogen-rich addition to your regular compost pile, completing the ecosystem benefits loop.
- Suggest Complementary Strategies: Humidity Control (Home Tips & DIY Focus): If your indoor environment is too dry (especially in winter), use a clear plastic dome or a humidity tent over the fruiting container to lock in moisture, or place a damp towel near the mushroom holes. This simple DIY adjustment is critical for mushroom growth. (Internal Linking Opportunity: Check out “Building the Perfect Indoor Mushroom Humidity Chamber.”)
✅ Conclusion: Your Capability to Master Frugal Farming
You have now unlocked the secrets behind HOW TO GROW MUSHROOMS FROM SCRAPS. By mastering the foundational concepts of mycelium, choosing the right substrate, and implementing strict cleanliness protocols, you have achieved a truly rewarding and sustainable form of indoor gardening. This frugal fungi farming demonstrates your capability to succeed in turning kitchen waste into valuable food.
Embrace the joy of your zero-waste harvests! Will you start your first batch today with the easy coffee ground method, or are you planning to prepare an outdoor woodchip bed?