
Discover how to grow vanilla beans at home with this simple step-by-step guide. Learn how to plant, pollinate, and harvest your own aromatic vanilla pods.
Introduction
Have you ever dreamed of growing your own vanilla beans at home—those fragrant, glossy pods that give desserts their irresistible aroma? Imagine stepping into your garden and smelling that sweet, tropical scent from your very own vanilla vine. Good news: it’s absolutely possible! While vanilla is often seen as a “luxury” crop, with patience, the right setup, and consistent care, you can transform a simple space into a mini tropical paradise.
In this complete guide, you’ll discover how to plant, care for, and harvest vanilla beans at home, even if you’re a beginner. You’ll learn what makes vanilla orchids special, how to create the right growing environment, and how to hand-pollinate your flowers to produce real beans. Let’s turn your gardening passion into something deliciously rewarding!
Understanding the Vanilla Plant
Before diving into the process, it helps to understand what you’re growing. The vanilla plant, Vanilla planifolia, is a species of climbing orchid native to tropical regions like Mexico and Madagascar. It thrives in warm, humid environments and produces long, green pods—commonly called vanilla beans—after successful pollination.
What Makes Vanilla Unique
- It’s an orchid: Vanilla is the only orchid species cultivated for food use.
- It needs manual pollination: Outside its native habitat, vanilla must be hand-pollinated to bear fruit.
- It takes patience: From planting to harvest, it can take 2–3 years for your first beans to appear.
Growing vanilla is a test of dedication—but the results are truly worth it.
Getting Started: Creating the Right Foundation
Setting up the right foundation ensures your vanilla vine grows strong and healthy. This section covers what you’ll need and how to prepare your growing environment.
Choosing the Right Vanilla Variety
The most common and beginner-friendly variety is Vanilla planifolia. You can start with:
- Cuttings (recommended): These are easier to propagate than seeds.
- Seeds: Viable but very slow and difficult to germinate.
You can often find vanilla cuttings from orchid growers, tropical plant shops, or reputable online nurseries.
Ideal Growing Conditions
Vanilla thrives in warm, humid, and partially shaded environments. Here’s what to aim for:
- Temperature: 21–32°C (70–90°F)
- Humidity: 70–80%
- Light: Bright, indirect sunlight
- Support: A sturdy trellis, pole, or tree trunk for the vine to climb
If you live in a cooler climate, don’t worry—you can grow vanilla indoors or in a greenhouse.
Soil and Pot Preparation
Vanilla orchids prefer a loose, well-draining medium rather than traditional soil.
Use a mix of:
- 40% orchid bark or coconut husk
- 30% sphagnum moss
- 20% perlite
- 10% compost or worm castings
This combination mimics the natural tropical forest floor, keeping roots aerated and moist.
Step-by-Step: How To Grow Vanilla Beans at Home
Now that your foundation is ready, let’s walk through the process of growing and caring for your vanilla plant.
Step 1: Planting the Cutting
- Choose a healthy 30–40 cm (12–16 inch) cutting with a few nodes.
- Let the cutting dry for a day to prevent rot.
- Plant it with one node buried in the potting mix and the rest above the surface.
- Keep the pot in a warm, shaded area with high humidity.
- Mist the cutting daily and water lightly every few days.
In 4–6 weeks, roots should begin to develop.
Step 2: Supporting the Vine
As your vanilla plant grows, it needs something to climb. Tie it gently to a stake or moss pole using soft ties. Vanilla vines can grow several meters long, so keep training it upward.
Step 3: Watering and Feeding
Vanilla orchids love moisture but hate soggy roots.
Follow this balance:
- Watering: Lightly every 2–3 days, ensuring the medium stays damp but not wet.
- Humidity: Mist daily, especially in dry environments.
- Fertilizing: Use a balanced orchid fertilizer (20-20-20) once every two weeks during the growing season.
Step 4: Pollinating the Flowers
Here’s where the magic happens—and where most people get nervous. Don’t worry! You can do it with practice.
How to Hand-Pollinate Vanilla Flowers
- Flowers bloom for just one day, so check your plant every morning.
- Using a toothpick, gently lift the flap (rostellum) that separates the male and female parts.
- Press them together to transfer the pollen.
- Mark the pollinated flowers so you know which ones may produce pods.
If successful, you’ll see small green pods forming in about a week!
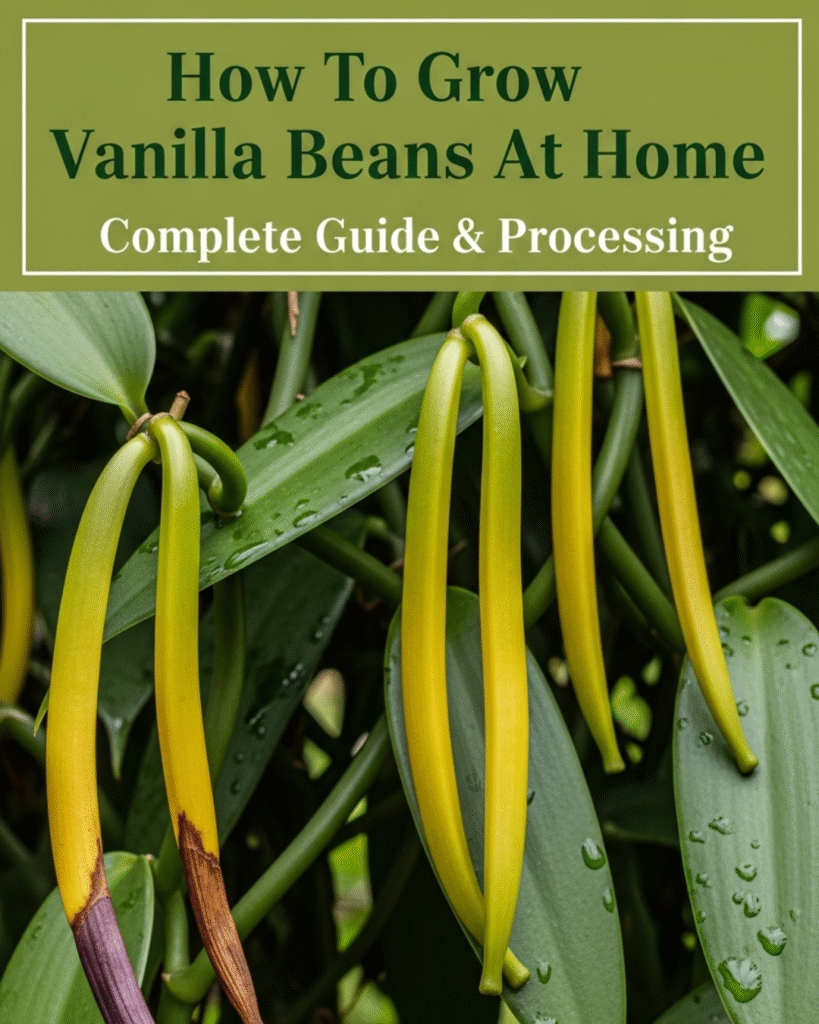
Step 5: Harvesting Vanilla Beans
Vanilla beans take 8–9 months to mature after pollination.
You’ll know they’re ready when:
- Pods turn slightly yellow at the tips.
- They begin to split or develop a faint fragrance.
Cut them gently with sterilized scissors and prepare for curing.
Advanced Tips for Successful Vanilla Growing
Once you’ve mastered the basics, try these expert techniques to improve yield and flavor.
Optimizing the Growing Environment
- Use humidity trays or misting systems to maintain ideal conditions.
- Rotate your pot occasionally for even light exposure.
- Prune old or damaged vines to encourage new growth.
Curing Vanilla Beans at Home
Curing is what gives vanilla its rich aroma. It’s a slow process but deeply rewarding.
- Blanch: Dip beans in hot water (not boiling) for 3 minutes.
- Sweat: Wrap them in a towel and keep warm for 36 hours.
- Dry: Lay them out in sunlight for a few hours daily until they’re leathery.
- Condition: Store in airtight containers for 2–3 months.
The result? Deeply fragrant, homemade vanilla beans perfect for baking or extracts.
Troubleshooting Common Challenges
Even experienced growers face hiccups. Here’s how to handle them.
Yellowing Leaves
Possible causes: Overwatering, poor drainage, or low temperature.
Fix: Reduce watering and ensure good airflow.
No Flowers Appearing
Cause: Insufficient light or nutrients.
Solution: Increase indirect sunlight and feed with a bloom booster fertilizer.
Mold or Root Rot
Cause: Excess moisture.
Solution: Repot in a drier mix and apply a fungicide if needed.
Failed Pollination
It’s normal! Try again the next bloom cycle and ensure precise pollen contact.
Maximizing Results and Long-Term Care
Once your vanilla plant is thriving, keep it productive for years.
Encouraging Continuous Growth
- Allow the vine to loop down and re-root at the base—this rejuvenates growth.
- Propagate new cuttings every few years to expand your vanilla garden.
Using Your Homegrown Vanilla
Your cured beans can be used for:
- Homemade vanilla extract
- Infused sugar
- Natural perfumes
- Luxury desserts
Each pod you produce is a sustainable, chemical-free gift from your own home garden.
Conclusion
Growing vanilla beans at home may take time, patience, and love—but it’s one of the most rewarding gardening experiences you can achieve. You’ll not only enjoy the satisfaction of nurturing a tropical orchid but also the thrill of harvesting one of the world’s most precious spices with your own hands.
So set up your pot, start misting, and begin this fragrant adventure today. Before long, you’ll be enjoying homemade vanilla with pride and delight—straight from your very own garden.